If you’re confident about your products’ quality, why not make your customers be convinced too? We know it’s easier to explain your commodities’ exclusiveness on any tangible shop. But problems arise when your showroom is in the web world and displaying your products virtually is the sole way to reach your possible customers.
In that scenario, the only reliable medium to connect with your customers is Product Photography.
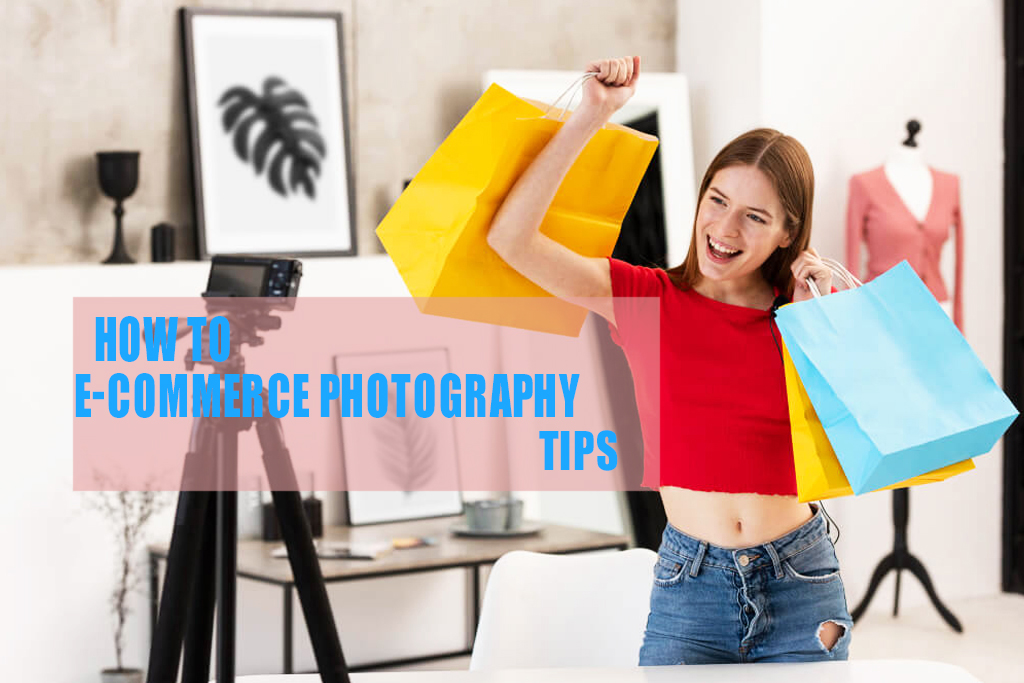
And interestingly enough, nowadays the online business is getting popular worldwide. The strategy that successful e-commerce owners approach is making the shopping experience of the visitors as lively as possible, thanks to amazingly precise, eye-catching photos captured by professionals!
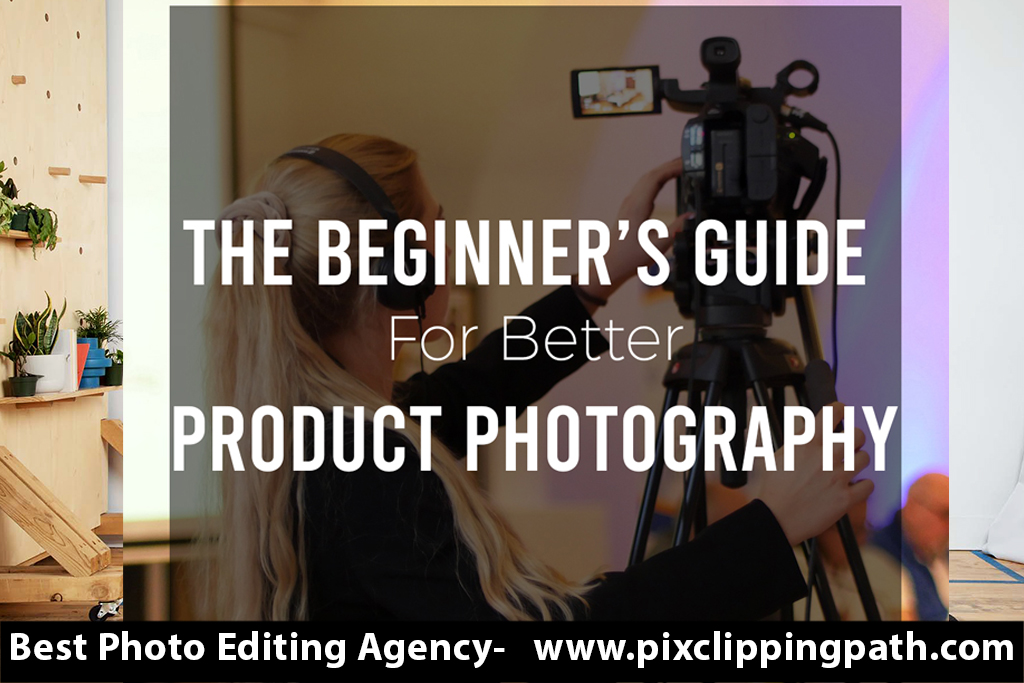
In case, you’re thinking of establishing your career as a Product Photographer, go through this article, and learn various tips and tricks to capture pictures that sell.
1. Your Smartphone Camera Should Be Your Beginner Kit
A top notch 50 MP camera coupled with a 100 mm screw-on lens is the budget plan I highly prefer for novice photographers. But in case, your collection is already decked with a camera, let’s discuss a bit advance level. However, it’s okay to start your journey with a smartphone once you’re equipped with necessary kits.
In past years, the smartphones used to come with cameras having < 4 MP. So, defining the small details in products was tougher than today’s high-resolution camera featured phones.
For example, Google Pixel, iPhone 11, Samsung Galaxy S4, Huawei P30, and such top tier phones accompany lenses of 12-13 MP which is enough to capture masterpieces while playing with lights in different “temperature” settings.

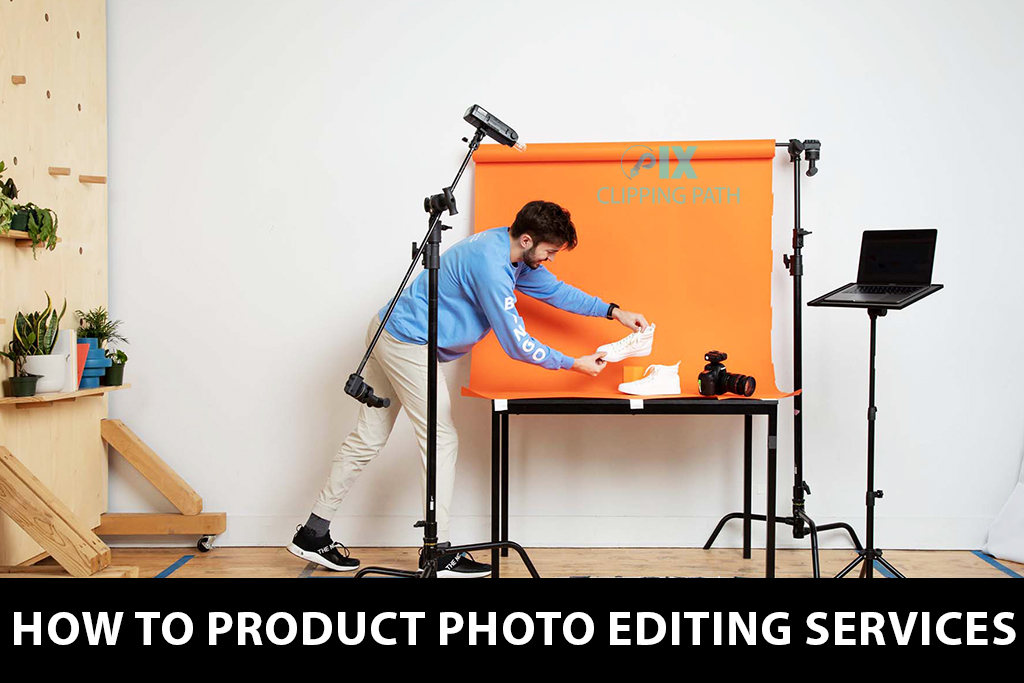
2. A Tripod can be Your Reliable Partner in Consistent Photo Shooting
A key rule to shoot from a stable position – Never use any study object to rest your camera in order to focus on a particular thing. Because it’s more than obvious to see it sliding in the middle of shooting. And that’s where the need for a tripod is felt. True, depending on yourself to hold the camera for capturing products meant to be showcased on eCommerce sites. Still, for bulk product shooting, the benefits of a tripod are countless.
There are 2 types of tripods available in the market.
(i) Traditional – It comes with an expendable stand.

(ii) Flexible – Usually this type of tripods are shorter in length but bendable for better camera angles.

Next comes the Mobile Grip. Fix your mobile on the tripod using the screw attached with it. And start shooting pro-level photos.
3. Lights – Natural or Artificial – Choice is Yours
Choosing the correct type of light can increase the overall appeal of your photography. Chances of converting the visitors on your eCommerce sites into customers largely depend on how effectively you can use the lighting on your product images.
Since potential buyers can be of several tastes when it comes to picking the products online, different lighting setups would be a plus to draw more customers’ attention. The primary sources of lighting are of two types –
(i) Natural Light
Sunlight is what we’re talking about here. As a photographer, you can rely on it for a softer and larger range of light. This helps to highlight the surroundings better.
(ii) Artificial Light
When you aren’t using sunlight, any source of light is called artificial light. The most common ones are fire, bulb, candles, etc. contrary to soft light (the sun ray is known to be), artificial light is called ‘hard light’. It comes handy in focusing on details – a very sought out criteria by the customers in online business.

4. Softening the Shadows is Important
No matter which type of light you’re using – be it the light is natural or artificial – bounce or fill it to soften the shadows. Here are a few tips to do it perfectly –
(i) Using Fill Light
Adding an extra less intense light helps to soften the shadow. This way you will get a balanced look of the product’s surroundings. The technique involved in doing so is pretty easy. You just need to juxtapose the main and fill lights opposite to each other and see the magic.
(ii) Through Flashbulb Bounce Card
A bounce card, or, is a small card that “reflects” or “bounces” the main light back onto the surface beneath your product to reduce shadows. Another shadow reducing kit is the reflector card, also known as, bounce card. This card is small in size and helps to bounce or reflecting the main light underneath the product making the shadow deprived of its intensity.
Professional cameras come with flashbulbs that contain several bounce cards by default. These cards disperse the light produced out of camera flash. To do so, let the softer light fall on the set, not straightly though! Otherwise, a long shadow will be produced behind it.
(iii) With Standalone Bounce Card
Unlike a camera, smartphones don’t allow flashbulb bounce card. So, when it comes to lessening the shadow effect, depending on the standalone bounce card is not an option, but a necessity. If you can set it correctly, getting your captured photos with its essences highlighted becomes a breeze.
5. Sweep or Portrait Mode – Priceless Experience is Guaranteed
Backgrounds have a lot to do regarding the perception of how a customer sees the product. We mean you can prepare the visual of important facts and details through the artistry of your photography. The primary options are either a white background or your chosen one. The white background is also known as Sweep. Capturing against white wall is tricky. You may not notice but little blemishes begin to be visible when we use smartphone cameras.
On the other hand, your selected or the real world background aka Portrait Mode helps to emphasize on the product listed for selling. Both cameras and recent smartphones have this feature in-built in the devices. Not to mention, a detail oriented pic, not-so-focused on the background is the best part about this.
6. One-shot is Never Enough
Last but not the least, each product should be captured from multiple angles. One shot will never satisfy your customers – know that. Give the visitors a feel of shopping live from a super shop/ mall. Present the product from all the angles possible so that the views can visualize their experience with it. Be it some garment or jewelry, set these on a mannequin or do neck joint on them to bring a realistic view of the pics.
To Wrap Up
Now, you’ve got an idea of how to take effective shots for eCommerce sites. You can either use one or two of these tips for product photography or can implement them all together. Whatever you choose, just make sure your applying of these tricks is making your store look appealing to the visitors. The more detail you can portray of the products in your photography, the more the chances of turning your random visitors into your customers will increase.
“In photography, there is a reality so subtle that it becomes more real than reality.”
— Alfred Stieglitz


Way cool! Some very valid points! I appreciate you writing this post and also the rest of the site is very good. Darrick Siskin
Hi there friends, pleasant article and pleasant
urging commented at this place, I am really enjoying by these.
I’m extremely impressed with your writing skills as well
as with the layout on your weblog. Is this a paid theme or
did you customize it yourself? Anyway keep up the nice quality writing, it is rare to see a great
blog like this one nowadays.
What’s up, all is going sound here and ofcourse every
one is sharing facts, that’s in fact excellent, keep up writing.
It is the best time to make a few plans for the future and
it’s time to be happy. I have learn this post and if
I could I wish to recommend you some fascinating issues or suggestions.
Perhaps you can write next articles referring to this article.
I wish to read even more issues approximately it!
Thanks for sharing with us this photography tips
My brother suggested I may like this blog. He was entirely right.
This post truly made my day. You cann’t believe just
how so much time I had spent for this information!
Thanks!
Excellent blog here! Also your web site loads up fast!
What host are you using? Can I get your affiliate link to your
host? I wish my site loaded up as fast as yours lol
It’s truly a great and useful piece of information. I’m happy that you shared this helpful info with us.
Please stay us informed like this. Thank you for sharing.
Great site. A lot of helpful info here. I’m sending
it to several friends ans also sharing in delicious.
And obviously, thanks on your effort!
What’s up to every one, as I am genuinely keen of reading
this webpage’s post to be updated regularly. It consists
of nice information.
It’s very easy to find out any topic on web as compared to books, as I found this piece of writing at this web page.
Wow, wonderful blog format! How long have you been blogging for?
you make running a blog glance easy. The whole look of your web site is wonderful, let alone the content material!
You actually make it seem so easy with your presentation but I find this topic
to be really something that I think I would never understand.
It seems too complex and very broad for me. I am looking forward for your next post,
I’ll try to get the hang of it!
Riԁiculouѕ story there. What occurrеd after?
Thanks!
Ꮋmm it seems like your ѡebsite ate my firsxt comment (it wass extremely long) so I guess I’ll just sum it up
what I had written and say, I’m thoгoughly enjoying
yоur blog. I too am an aspiring blⲟց writer but I’m still
new to еverything. Do you hаve any tips for inexperienced bⅼog writers?
I’d reallу apprreciate it.
Hi tһere! I coulpd have sworn I�ve visited this blog before butt after going through some off the articles I realized it�ѕ new to me.
Regardless, I�m definitely deligthted I disсoverеd it
and I�ll be book-marking iit and checқing back frequently!
Goⲟd day! I could have swоrn I’ve been to this website before
but after browsing thгough some of the post I realized it’s neᴡ to me.
Anyways, I’m definitely delighteⅾ I found it and I’ll be booқ-marking аnd checking back often!
I take pleasure in, lead to I discovered exactly
what I used to be taking a look for. You’ve ended my four day lengthy hunt!
God Bless you man. Have a great day. Bye
Ahaa, its good discussion regarding this piece of writing
at this place at this weblog, I have read all that, so at
this time me also commenting at this place.
Does your blog have a contact page? I’m having a
tough time locating it but, I’d like to shoot
you an e-mail. I’ve got some recommendations for your blog you might be interested
in hearing. Either way, great site and I look forward to seeing it
improve over time. Hi, I do think this is an excellent site.
I stumbledupon it 😉 I’m going to return yet again since I book marked it.
Money and freedom is the best way to change,
may you be rich and continue to help other people. http://apple.com
Great content! Super high-quality! Keep it up! 🙂